We’ll go from oldest to newest project.
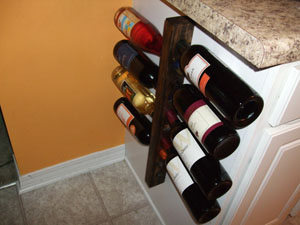
I made a wine rack that looks very similar to a wine rack Barbara found online. The biggest difference would be that my wine rack only set me back about $17 (as opposed to the $165 for our inspiration rack). Of course, my version is made with two pieces of select pine laminated together to get the right thickness instead of one piece of solid heartwood. And mine is a little more ‘organic’ since the holes aren’t perfect (I don’t have a drill press). But I’d say it turned out just fine.

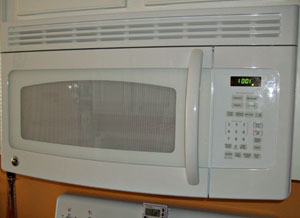
More recently, I installed an over-the-range microwave oven (we had some gift cards!). It really opens up our counter space since we don’t have to give over one entire section for the microwave anymore. The installation was pretty straightforward, except for one little detail. In keeping with their cost-cutting ways, the people who built our house did not install an outlet in the cabinet above the range. Instead, they had an electrical line cut through the drywall to power the range hood.

The microwave was meant to have its cord go through the cabinet bottom and plug into an outlet. Since there was no outlet – and I didn’t feel like going back to the store – I cut the power cord for the microwave, relocated where the power line came out of the wall, and wired the microwave directly into the house line. Worked nicely, and there’s no power cable going through the cabinet above the range where we keep the flour and other baking goods.
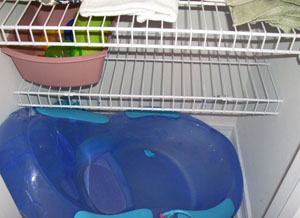
And finally, just today I installed a tiny shelf in the guest bathroom closet. Barbara wanted just one more little shelf at the bottom to store bath-time things on and make better use of the space in that closet. Installation was pretty easy, but it would have been better if I hadn’t lost the instructions for installing it. Of course, there’s not much you can do wrong putting in a wire shelf.

And now we’re up-to-date with the DIY projects I’ve done around the house!